Customizando a nuestro gusto Windows Terminal Preview

Windows Terminal es una herramienta todo en uno, donde podremos lanzar CMD, Bash, para el caso de WSL, PowerShell y Cloud Shell. En este artículo te muestro como customizarla.
Desde hace una semana tengo un nuevo daily driver, es una Lenovo 14s-IWL que corre Windows 10 Pro.
Hace años había dejando de usar Windows a favor de Linux y Mac OS y esta vez quise darle una nueva oportunidad, sobre todo por el nuevo approach que ha tomado Microsoft con respecto al Open Source y Linux. WSL es algo que definitivamente, quería probar.
¿Qué cara%0s es Windows Terminal?
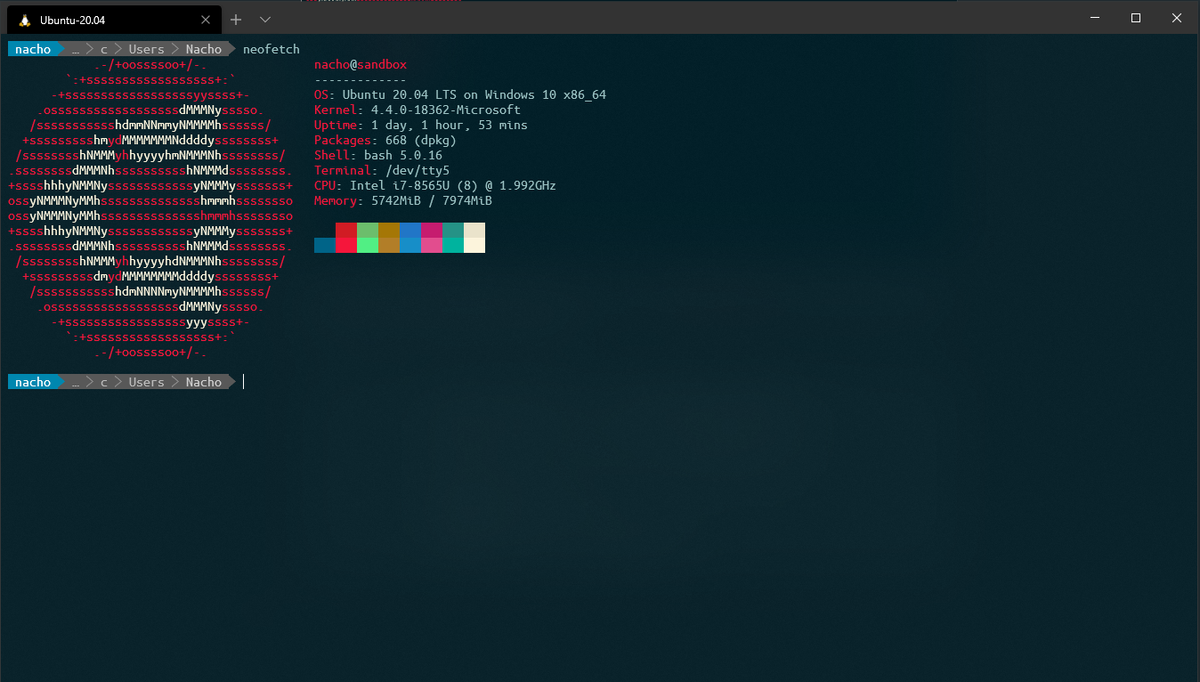
Una de las cosas que vi que lanzo Microsoft hace un tiempito fue Windows Terminal, por ahora en etapa Preview y la verdad que no entendía bien cual era el espacio que venía ocupar hasta que lo instale y lo probé en esta nueva maquina. Esta terminal, es un All in One, donde tenés Bash (Si tenés instalado WSL), PowerShell, CMD y Cloud Shell (Azure). Lo que vengo viendo es que funciona muy bien y que es muy personalizable, tanto así que hay, como un "movimiento" en donde se comparten diferentes setups que incluyen colores, tipografía, backgrounds y otros tipos de personalización.
¿Cómo personalizar Windows Terminal?
La personalización de Windows Terminal se lleva acabo a través de un archivo llamado "settings.json". Este archivo en mi caso tiene apenas algunos cambios, como por ejemplo, cual quiero que sea la terminal que abra por defecto (bash) y fuente para que la misma sea compatible con Powerline. Mi archivo se ve así:
// This file was initially generated by Windows Terminal Preview 1.1.1812.0
// It should still be usable in newer versions, but newer versions might have additional
// settings, help text, or changes that you will not see unless you clear this file
// and let us generate a new one for you.

// To view the default settings, hold "alt" while clicking on the "Settings" button.
// For documentation on these settings, see: https://aka.ms/terminal-documentation
{
    "$schema": "https://aka.ms/terminal-profiles-schema",

    "defaultProfile": "{07b52e3e-de2c-5db4-bd2d-ba144ed6c273}",

    // You can add more global application settings here.
    // To learn more about global settings, visit https://aka.ms/terminal-global-settings

    // If enabled, selections are automatically copied to your clipboard.
    "copyOnSelect": false,

    // If enabled, formatted data is also copied to your clipboard
    "copyFormatting": false,

    // A profile specifies a command to execute paired with information about how it should look and feel.
    // Each one of them will appear in the 'New Tab' dropdown,
    //   and can be invoked from the commandline with `wt.exe -p xxx`
    // To learn more about profiles, visit https://aka.ms/terminal-profile-settings
    "profiles":
    {
        "defaults":
        {
            // Put settings here that you want to apply to all profiles.
        },
        "list":
        [
            {
                // Make changes here to the powershell.exe profile.
                "guid": "{61c54bbd-c2c6-5271-96e7-009a87ff44bf}",
                "name": "Windows PowerShell",
                "commandline": "powershell.exe",
                "hidden": false
            },
            {
                // Make changes here to the cmd.exe profile.
                "guid": "{0caa0dad-35be-5f56-a8ff-afceeeaa6101}",
                "name": "Command Prompt",
                "commandline": "cmd.exe",
                "hidden": false
            },
            {
                "guid": "{07b52e3e-de2c-5db4-bd2d-ba144ed6c273}",
                "hidden": false,
                "fontFace": "Ubuntu Mono derivative Powerline",
                "name": "Ubuntu-20.04",
                "source": "Windows.Terminal.Wsl"
            },
            {
                "guid": "{b453ae62-4e3d-5e58-b989-0a998ec441b8}",
                "hidden": false,
                "name": "Azure Cloud Shell",
                "source": "Windows.Terminal.Azure"
            }
        ]
    },

    // Add custom color schemes to this array.
    // To learn more about color schemes, visit https://aka.ms/terminal-color-schemes
    "schemes": [],

    // Add custom keybindings to this array.
    // To unbind a key combination from your defaults.json, set the command to "unbound".
    // To learn more about keybindings, visit https://aka.ms/terminal-keybindings
    "keybindings":
    [
        // Copy and paste are bound to Ctrl+Shift+C and Ctrl+Shift+V in your defaults.json.
        // These two lines additionally bind them to Ctrl+C and Ctrl+V.
        // To learn more about selection, visit https://aka.ms/terminal-selection
        { "command": {"action": "copy", "singleLine": false }, "keys": "ctrl+c" },
        { "command": "paste", "keys": "ctrl+v" },

        // Press Ctrl+Shift+F to open the search box
        { "command": "find", "keys": "ctrl+shift+f" },

        // Press Alt+Shift+D to open a new pane.
        // - "split": "auto" makes this pane open in the direction that provides the most surface area.
        // - "splitMode": "duplicate" makes the new pane use the focused pane's profile.
        // To learn more about panes, visit https://aka.ms/terminal-panes
        { "command": { "action": "splitPane", "split": "auto", "splitMode": "duplicate" }, "keys": "alt+shift+d" }
    ]
}
Y mi terminal así, por ahora es bien básica la personalización.
En mi caso, siempre me gusto el scheme de colores "Solarized Dark Higher Contrast" así que voy a agregar este scheme de colores y luego lo voy a definir en que terminal quiero usarlo.
Si miraron "el código" del archivo anterior, seguramente vieron esta parte:
    // Add custom color schemes to this array.
    // To learn more about color schemes, visit https://aka.ms/terminal-color-schemes
    "schemes": [],
Y aquí es donde vamos a agregar el scheme que quiero para mi terminal, quedando de la siguiente manera:
    // Add custom color schemes to this array.
    // To learn more about color schemes, visit https://aka.ms/terminal-color-schemes
    "schemes": [
        {
        "name": "Solarized Dark Higher Contrast",
        "black": "#002831",
        "red": "#d11c24",
        "green": "#6cbe6c",
        "yellow": "#a57706",
        "blue": "#2176c7",
        "purple": "#c61c6f",
        "cyan": "#259286",
        "white": "#eae3cb",
        "brightBlack": "#006488",
        "brightRed": "#f5163b",
        "brightGreen": "#51ef84",
        "brightYellow": "#b27e28",
        "brightBlue": "#178ec8",
        "brightPurple": "#e24d8e",
        "brightCyan": "#00b39e",
        "brightWhite": "#fcf4dc",
        "background": "#001e27",
        "foreground": "#9cc2c3"
      }],
Lo siguiente que debo hacer, es agregar invocar este theme o scheme de colores desde la configuración específica de cada terminal. Ojo, también se hace desde el mismo archivo. Para este caso voy a modificar la terminal de Linux. En el "settings.json" que les mencione y mostré más arriba esta así:
            {
                "guid": "{07b52e3e-de2c-5db4-bd2d-ba144ed6c273}",
                "hidden": false,
                "fontFace": "Ubuntu Mono derivative Powerline",
                "name": "Ubuntu-20.04",
                "source": "Windows.Terminal.Wsl"
            },
Entonces, para definir el scheme de colores, debemos agregar el "colorScheme", quedando de la siguiente manera:
{
"guid": "{07b52e3e-de2c-5db4-bd2d-ba144ed6c273}",
"hidden": false,
"fontFace": "Ubuntu Mono derivative Powerline",
"colorScheme": "Solarized Dark Higher Contrast",
"name": "Ubuntu-20.04",
"source": "Windows.Terminal.Wsl"
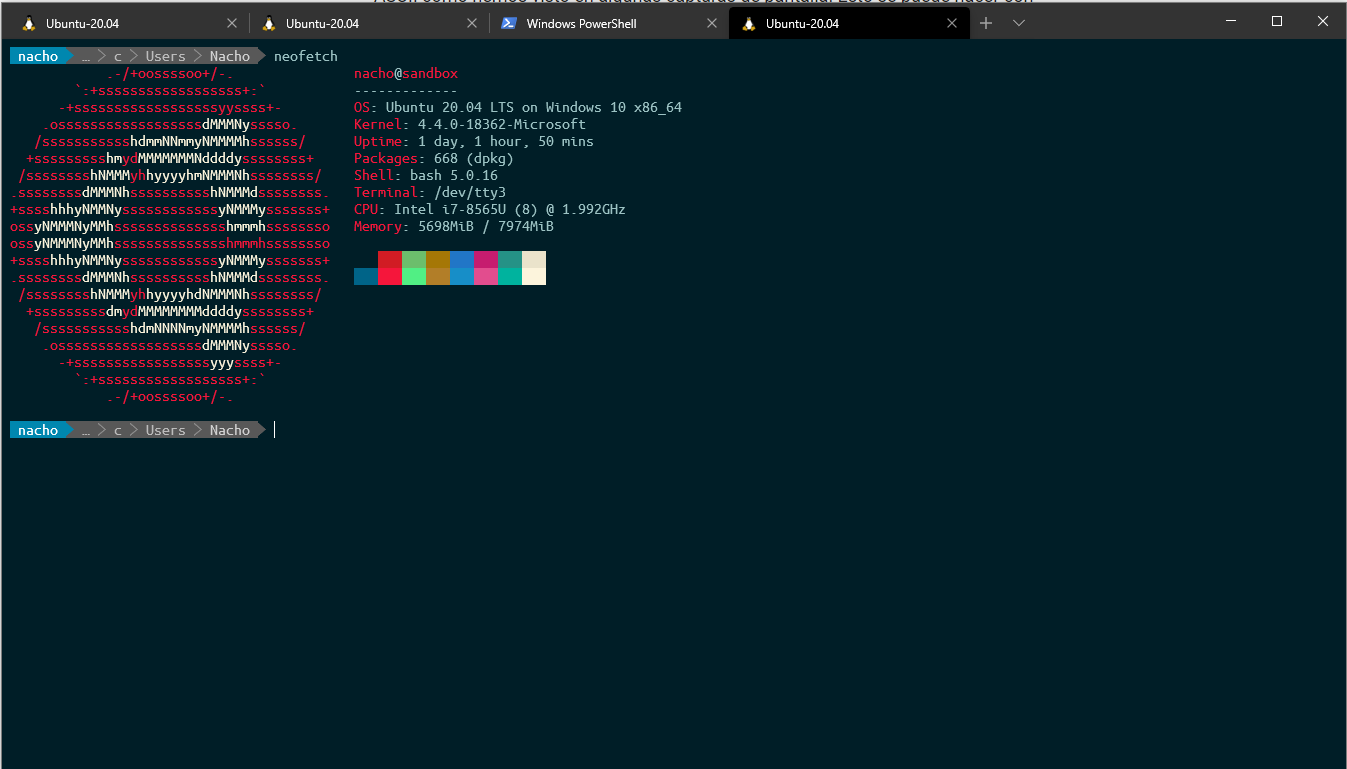
},Una vez hecha la modificación, guardo, abro un terminal y veo que tan lindo quedó:
Podemos seguir agregando más cosas, como un background o darle transparencia a la terminal, en mi caso, lo dejé así:
            {
                "guid": "{07b52e3e-de2c-5db4-bd2d-ba144ed6c273}",
                "hidden": false,
                "fontFace": "Ubuntu Mono derivative Powerline",
                "colorScheme": "Solarized Dark Higher Contrast",
                "acrylicOpacity": 0.8,
                "useAcrylic": true,
                "name": "Ubuntu-20.04",
                "source": "Windows.Terminal.Wsl"
            },
Para ir cerrando
Como ven, no es para nada complicado y seguramente, no les estoy mostrando nada nuevo, ya que estás personalizaciones y otras se pueden hacer en Linux desde toda la vida, pero con Windows Terminal, que es nuevo, creo que es lindo touch para tener más o menos la misma experiencia.
Los themes, se pueden "descargar" desde sitios como este, pero también, pueden personalizarlo como ustedes quieran. En la Web esta lleno de ejemplos con cosas que hacen.
Espero que este artículo les haya servido para entender como personalizar su Windows Terminal. Cualquier consulta o duda, no duden en dejar un comentario. Buen fin de semana.